
DERELIKT Reactor Puzzle: Cooling Stations and the Core
How the reactor puzzle works: the three cooling stations, the reactor key, the core sequence and the meltdown escape that follows.
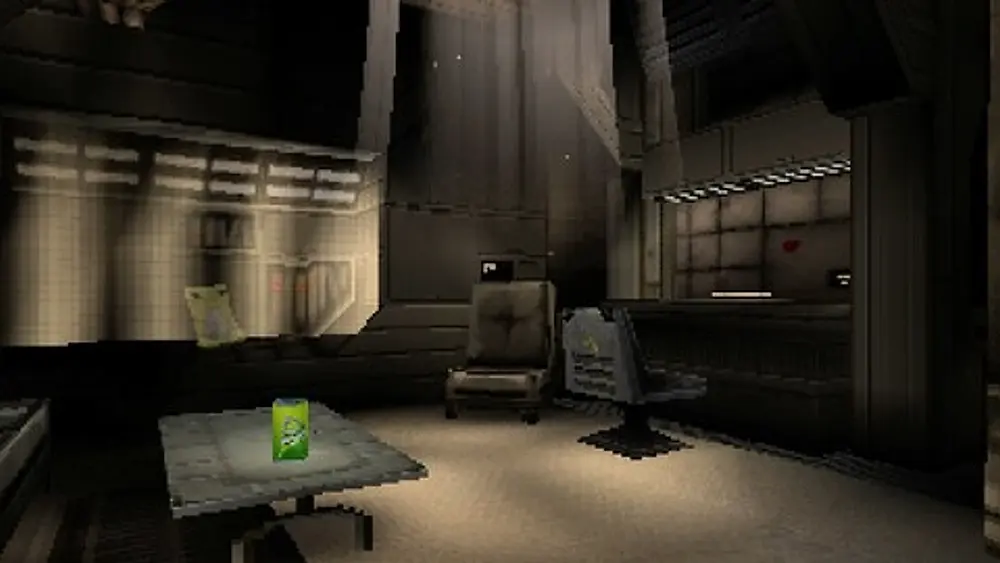
The reactor puzzle is the last puzzle in DERELIKT and the one with the lowest completion rate of any non-boss objective: Time to Go sits at 8.8%. That number is not a difficulty signal. The puzzle is simple. The reason so few players solve it is that the reactor section comes after the coolant reservoir, and most players never get there.
The puzzle has three parts: bring the cooling stations online, take the reactor key without flooding the core, and escape before the meltdown. The game presents them as one continuous sequence, but they fail independently.

The key you need comes from the Level 10 reactor run→, so that page is the prerequisite for this one.
Part 1: the three cooling stations
The reactor hall is a ring around a central core. Three stations sit at the ring's cardinal points, and each must be started before the core console accepts the key.
Station A: the pump floor
Station A is the lowest station and the only one with standing water. It has a single valve wheel.
- Clear the two Rock Worms on the pump platform.
- Crowbar the sentry on its patrol loop behind the housing.
- Turn the valve until the gauge reaches the first mark.
- The station's light turns amber when it is online.
If the gauge falls back after you let go, you turned the valve too far. Reset it and stop at the mark, not past it.
Station B: the control gallery
Station B is above the core, behind a keypad door. The code is printed on the reactor key, which means you cannot open it on your first pass through the hall. The intended order is A, then the core, then B and C on the way out.
The gallery has a Shriver's Note, a storage box and the thickest alien growth in the level. Clear the growth from the doorway before you enter, or the Abominations it spawns will trap you between the door and the console.
Station C: the coolant tower
Station C is the tall tower with three catwalks and three valves, one per catwalk.
- Lower catwalk: valve one, no enemies.
- Middle catwalk: valve two, two sentries on crossing patrols.
- Upper catwalk: valve three, one sentry and a nest.
Wait on the lower catwalk until both middle sentries face away from each other, then crowbar the nearer one and run for the valve. The nest on the upper catwalk can be shot from the middle catwalk, which saves a fight on the ladder.
Part 2: the reactor key and the core
All three stations online turns the core console green. The core chamber opens.
- Take the reactor key from the pedestal.
- The alien cube in your inventory reacts; this is a scripted cutscene, not a choice.
- The core console now accepts the key and starts the puzzle sequence.
The puzzle sequence is a timing check, not a code: three coolant valves must be opened in the order the console highlights, and each highlight lasts about four seconds. Missing one vents steam and resets the sequence.
The console shows the order as three flashing symbols, not numbers. Write them down if you are playing on a small screen; the symbols repeat between the three valves and the console.
A failed sequence vents steam across the chamber and spawns two Abominations. The sequence can be retried, but the spawns cannot be cleared before the next attempt if you are already hurt.
Part 3: the meltdown
Solving the sequence starts the meltdown. The timer is five minutes on Normal and four on Hard, and it only runs during the escape.
The escape route:
- Core chamber exit, left door.
- Reactor hall, cross the ring counter-clockwise.
- Station C coolant tower, climb the three catwalks.
- Maintenance corridor, through the steam vent room.
- Maintenance lift.
Rules that matter:
- Do not fight the spawns behind you. They respawn on a timer.
- Take the left door at the first junction. The right door loops to Station B.
- Save the grenade launcher for the airlock. A group of Abominations blocks the last door.
The lift ends the level and awards Critical mass (0.5%). The reactor sequence itself awards Time to Go (8.8%) as soon as the three-valve sequence succeeds, before the escape starts.
Common failures
| Failure | Why | Fix |
|---|---|---|
| Console rejects the key | A station is offline | Check the three amber lights on the ring |
| Station B door will not open | Key not taken yet | Do the core first |
| Sequence resets repeatedly | Valves opened in the wrong order | Watch the console symbols, not the valve numbers |
| Escape timer runs out | Wrong junction | Left door at the first split |
| Achievement did not fire | Sequence solved but level reloaded | Time to Go fires on sequence completion, not on the lift |
FAQ
Is the reactor puzzle a code? No. It is a three-valve timing sequence, and the code on the key only opens Station B.
Can I do Station B before the core? No. The keypad code is printed on the key, which is inside the core chamber.
How long is the meltdown timer? Five minutes on Normal, four on Hard.
What is the reward for solving it? Time to Go (8.8%) and access to the core, which is required to finish the game.
The reactor sequence is the last thing most players see, and the launch-week patch notes are the only official record of changes to it.
Sources and further reading
The pages below are the sources this guide checks against. The store page and the developer's post are primary; the reviews are secondary and are used for enemy names, weapon names and the state of the game at launch.
- DERELIKT on Steam ↗ — the store page, system requirements and the 27-achievement list.
- Visuwyg's announcement post ↗ — the developer's own description of the outpost and the PS1 rendering work.
- DERELIKT news hub on Steam ↗ — patch notes and launch-week announcements.
Official source: Visuwyg — DERELIKT announcement post ↗, 8 September 2025.
"grafted onto an anomalous derelict asteroid in orbit around Saturn" — Visuwyg, DERELIKT announcement post, 2025