
DERELIKT Level 10 Walkthrough: Nuclear Reactor
The reactor key, the three cooling stations, the alien cube choice and the meltdown run that ends with Dr. Shivers.
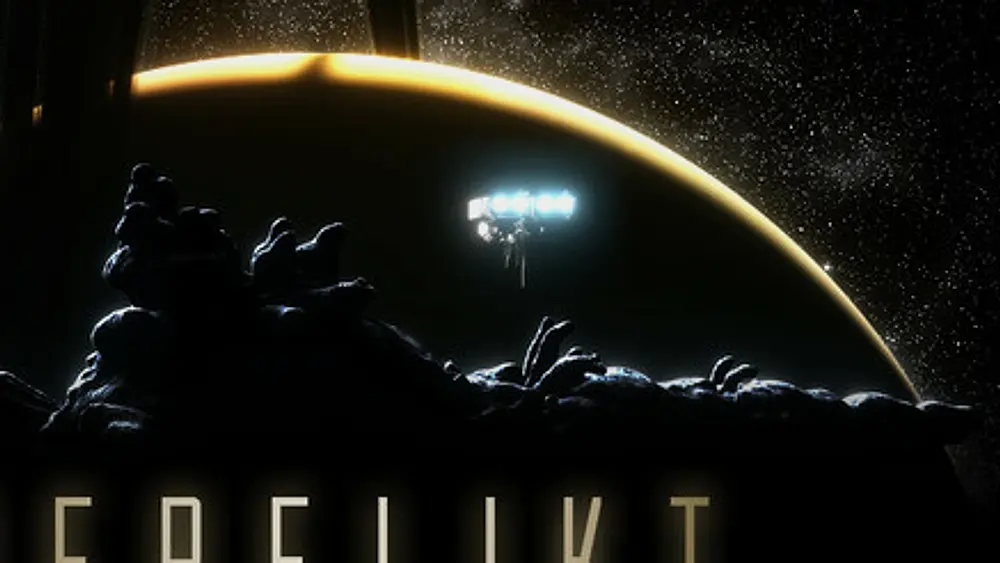
The reactor section is the campaign's point of no return. Once you enter the reactor hall, the hub locks behind you, the coolant level starts rising and the only way out is through the meltdown. Everything you did not collect before this point stays uncollected.
It is also where the game's two lowest-completion achievements live. Critical mass (finish the reactor) is at 0.5%, and Time to Go (solve the reactor puzzle) is at 8.8%, which is the clearest evidence that most players never get past the coolant reservoir.
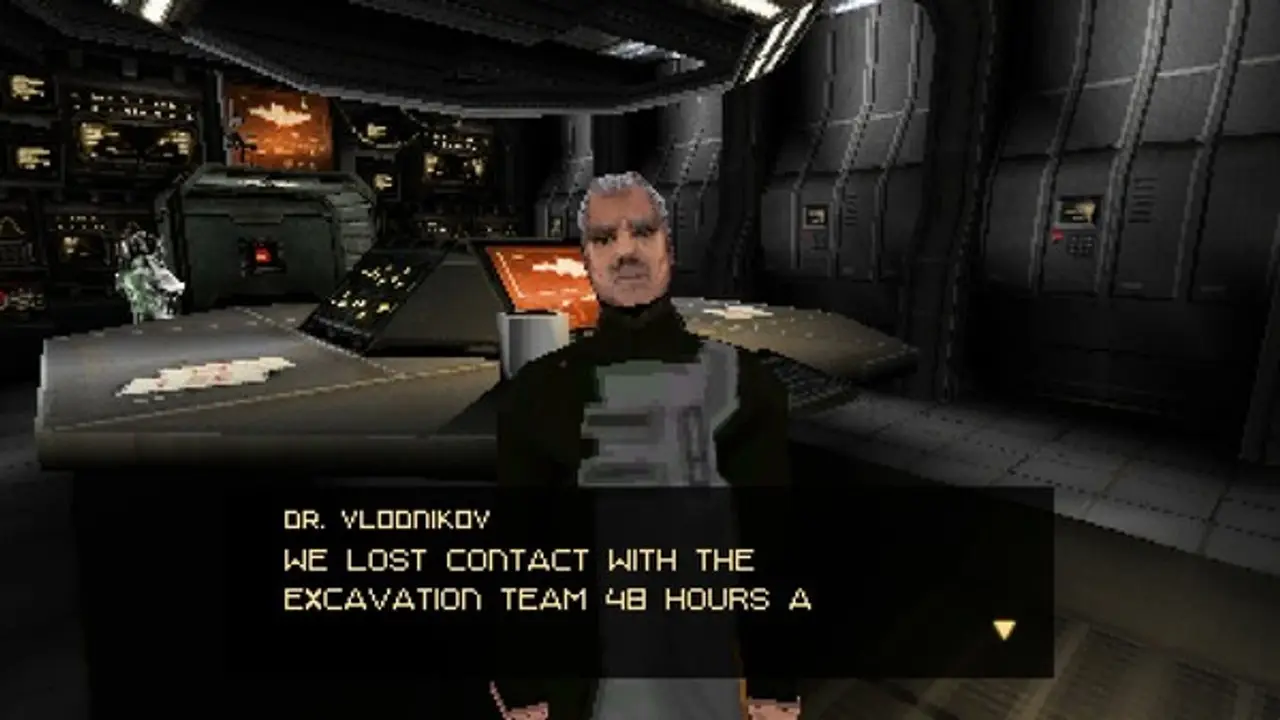
The shutdown depends on the reactor key you picked up earlier, and the reactor puzzle guide→ covers the full order.
Before you commit
The reactor door is one-way. Confirm the following before you step through:
- All documents and Shriver's Notes collected; the hub storage box is your last chance to organise.
- Glyph upgrades spent. The bench is in the hub and it does not come with you.
- Both weapons loaded and at least two medkits.
- Alien cube picked up from the hub display. You need it in the reactor.
If you are missing the cube, the reactor's central console will not accept the key and the door to the core stays sealed.
The three cooling stations
The reactor hall is a circular room with three cooling stations around the core. Each station must be brought online before the central console accepts the reactor key.
Station A: the pump floor
Station A is the lowest of the three and the only one with water on the floor. It holds a sentry, two Rock Worms and the station's control valve.
- Kill the worms first; they are the only enemies that can hit you while you are turning the valve.
- Crowbar the sentry while it is on its patrol loop behind the pump housing.
- Turning the valve starts the coolant flow. The gauge on the wall moves to the first mark.
Station B: the control gallery
Station B is above the core, behind a locked door with a keypad. The code is on the reactor key itself, which you pick up in the core chamber. That means the intended order is A, then the key, then B and C.
The gallery has a Shriver's Note and a storage box. It is also where the alien growth is thickest; the walls are covered and the growth spawns Abominations if you stand still too long.
Station C: the coolant tower
Station C is the tallest of the three and the only one that requires a climb. The tower has three catwalks, each with a valve. Turn all three to bring the station online.
The tower is where the game puts its last sentry pair. Two sentries patrol the middle catwalk, and their patrol routes cross. Wait on the lower catwalk until both are facing away, then crowbar the nearest one and run for the valve. Killing both with the rifle costs more ammo than the reactor's final fight needs.
The core chamber and the reactor key
The core is behind the central door, which opens once all three stations are online. Inside:
- The reactor key on the pedestal at the center of the chamber. Taking it starts the puzzle.
- The alien cube reacts to the key, which triggers the level's cutscene.
- A save station at the chamber entrance. This is the last save in the game.
Taking the key also starts the meltdown timer. The timer is generous on Normal and tight on Hard, but it only counts down during the escape sequence, not during the puzzle itself.
After the core, there are no save stations until the ending. If you die during the meltdown, you restart at the chamber entrance with the timer reset.
The meltdown escape
The escape is a five-minute run back through the reactor hall, the coolant tower and the maintenance corridor. The route is the same one you came in by, but the lights are red, the doors are closing and the game spawns enemies behind you the whole way.
Three rules keep it survivable:
- Do not stop to fight. The enemies behind you are on a spawn timer and will keep coming. Shoot only what blocks the corridor.
- Take the left door at the first junction. The right door loops back to Station B and adds forty seconds.
- Save the grenade launcher for the final door. A group of Abominations spawns in front of the maintenance airlock.
The escape ends at the maintenance lift, which awards Critical mass (0.5%) and drops you into Level 11.
What the reactor section changes
- The hub is locked. Any rescued NPCs stay behind.
- The alien cube merges with the key, which is the item that determines which ending you can access.
- The game's enemy spawns switch to the "infested station" table, so even the corridors you cleared are repopulated.
Collectibles
| Item | Location |
|---|---|
| Shriver's Note | Station B control gallery |
| Storage box | Station B gallery |
| Reactor key | Core chamber pedestal |
| Alien cube | Hub display, before entering |
| Medkit ×2 | Station A pump floor, Station C lower catwalk |
FAQ
Can I leave the reactor after taking the key? No. The meltdown sequence is one-way.
What if I forgot the alien cube? The core door will not open. Reload a save from before the reactor entrance.
Is the reactor puzzle timed? No. The timer starts after the puzzle is solved, during the escape.
Which achievement is the reactor puzzle? Time to Go, at 8.8%. Critical mass is for finishing the level.
The reactor section was patched once in launch week, and the patch notes are the best place to check whether the meltdown timer changed on your build.
Sources and further reading
The pages below are the sources this guide checks against. The store page and the developer's post are primary; the reviews are secondary and are used for enemy names, weapon names and the state of the game at launch.
- DERELIKT on Steam ↗ — the store page, system requirements and the 27-achievement list.
- Visuwyg's announcement post ↗ — the developer's own description of the outpost and the PS1 rendering work.
- DERELIKT news hub on Steam ↗ — patch notes and launch-week announcements.
Official source: Visuwyg — DERELIKT announcement post ↗, 8 September 2025.
"grafted onto an anomalous derelict asteroid in orbit around Saturn" — Visuwyg, DERELIKT announcement post, 2025