
DERELIKT Beginner Guide: First Hour, Controls and Survival
How DERELIKT actually works: dialogue, manual saves, the grid inventory, medkit merging, crowbar stealth and the settings worth changing before Level 1.
DERELIKT looks like a 1997 shooter and punishes you like one. The first level is deliberately quiet: no boss, barely any ammo pressure, and a crew that wants to talk. That quiet is the tutorial. If you sprint through Von Neuman Outpost looking for the exit, you reach the surface with a half-empty pistol, no flashlight, and no idea that the inventory is a puzzle of its own.
This guide covers the systems that the game never explains in a menu: who to talk to, when the game saves, how ammo occupies space, why your medkits should be merged, and which settings to change before the first corridor.
Once the controls click, the grid inventory guide→ explains how many cells each ammo stack really costs.
The first thirty minutes, in order
- Read the Personal Log on your ship before you open the airlock. It sets the objective and adds a document to your count.
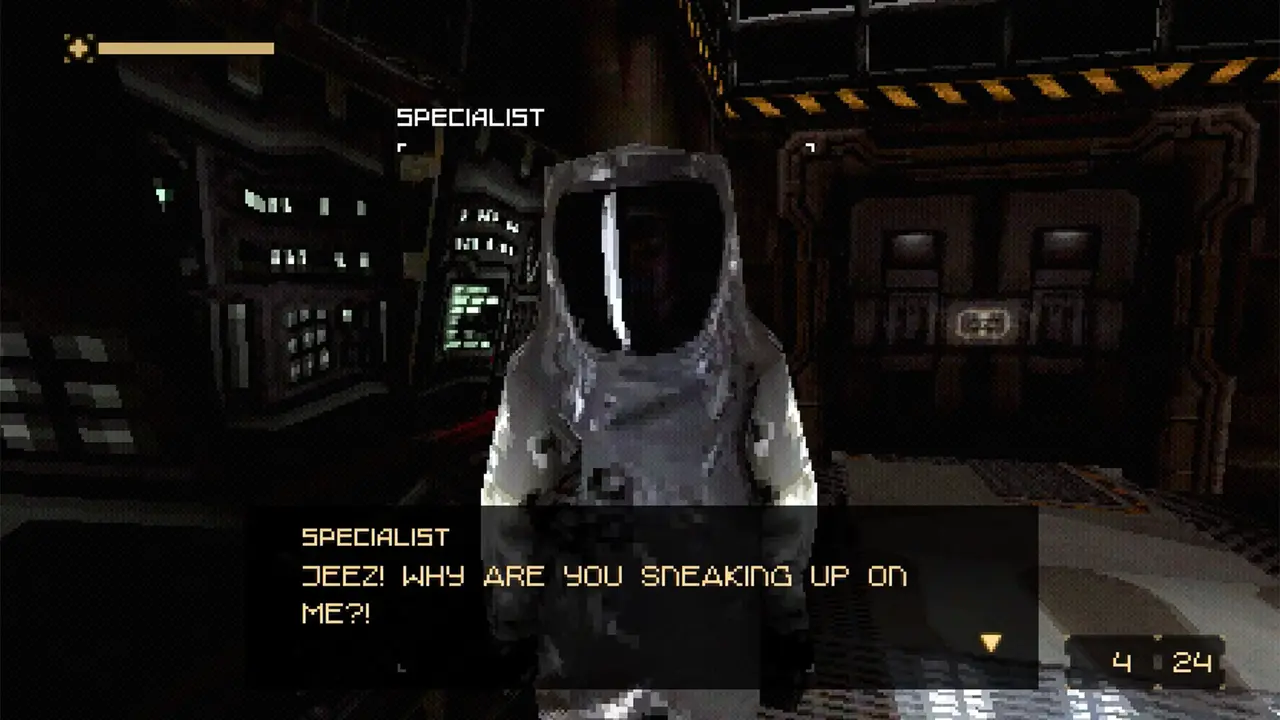
- Talk to every named crew member in Mainframe. Dr. Braun starts the objective chain, Preston Goffart trades a favour for a Space Pop, and Rose Salem gives you information about Dr. Shriver that changes a later dialogue.
- Do the Armory detour before the elevator. The Chief hands you the sidearm there, and the gun quiz next to him is the only missable achievement in the opening hour.
- Pick up the flashlight in lower maintenance. The lower decks are pitch black, and the flashlight has a battery drain that you need to learn before the surface.
- Visit the locked restroom. The code is 0451 and the room contains a document, a medkit and a storage locker.
The reason to slow down is the achievement list. Chatterbox (speak with everybody in Level 01) sits at 81.0% completion, which makes it the single most-awarded achievement in the game. It is also the easiest one to fail by walking past a crew member.
Dialogue is a mechanic, not flavour
Conversations run on a simple rule: each named NPC has one topic that advances their thread and one that does not. Asking the wrong question first does not lock you out, but it can move the NPC to a new position, and a few of them stop being reachable once you leave the deck.
- Dr. Braun is the mission board. Talk to him after every major return to the station.
- Preston Goffart wants a can of Space Pop from the vending machine upstairs. The reward is the Worm V.1, a living worm gun that fires without using pistol ammo.
- Albert Nedry tells you that Shriver locked himself in two days ago. This unlocks the maintenance route and the 0451 hint.
- James Park asks for a lost tape. The tape is in the same lower-maintenance sequence, so grab it while you are there.
- Gregory Gold is trapped in Cargo Bay 0215. Talking to him is required for the flashlight and for the achievement Savior complex path.
Two NPCs are easy to miss because they never stand in the main hall: the survivor in the Exo Labs upper room and the engineer behind the coolant door. Both are counted for Savior complex, and both can die if you trigger a story terminal before reaching them.
Saving, dying and what you lose
DERELIKT only saves when you use a save station. There is no quicksave, no autosave and no checkpoint at a boss gate. Dying sends you back to the last station, which can be ten minutes of corridor behind you.
| Situation | What happens | What to do |
|---|---|---|
| Die in a normal corridor | Reload at last station, enemies respawn | Clear rooms in the same order on the retry |
| Die to a boss | Reload at the pre-boss station | Merge medkits before the door, not during the fight |
| Close the game | Progress since last station is lost | Save before you quit, every time |
| Inventory full | Pick-ups stay on the floor, but despawn after a reload | Drop duplicate ammo stacks at the Exo Lab box |
The save-station rule is why the hub matters. Exo Laboratories has the only storage box in the early game, and returning to it is free once the hub route opens. Treat every trip back as a resupply, not a detour.
The inventory grid is the real difficulty
Every item occupies a rectangular cell block. A full magazine of pistol ammo takes one cell; a partial magazine takes the same cell, which means a half-empty stack is wasted space until you merge it.
- Merge partial ammo by combining two stacks of the same type. A stack only becomes one full cell when it is full; until then it is dead weight.
- Merge medkits into the large medkit. The large kit heals more per cell than two small ones, and it is the only reliable way to survive the Squidbull.
- Keep one column free for quest items. The flashlight, keycards and the battery all need a slot, and the game will not let you pick them up with a full grid.
- Dump, do not carry. The Exo Lab box accepts everything, including documents you have already read. Documents do not need to stay in the bag to count.
This is the part where console habits hurt. There is no auto-sort and no quick-equip. Open the inventory after every fight, merge what you can, and leave the rest in the box.
The crowbar is not a joke weapon
The crowbar is the first weapon and the one that decides whether you finish the game with ammo. It has three uses:
- Silent takedown. A hit from behind on a human-sized enemy kills without a gunshot, which matters because gunfire pulls every enemy in the corridor.
- Prying vents. Damaged vent covers open with the crowbar and lead to shortcuts, documents and Insight. The game does not mark them; look for grates with bent slats.
- Puzzle interaction. A few old-school puzzles expect you to wedge or break something, and the crowbar is the tool the game checks for.
Against Abominations, the crowbar is a last resort. They swing faster than you and do not flinch. Against Rock Worms, do not bother: their acid spit punishes the approach.
Enemies you meet before the first boss
| Enemy | Where | What it does | Answer |
|---|---|---|---|
| Rock Worm | Surface tunnels | Spits acid at range | Strafe, then shotgun at close range |
| Abomination | Station corridors | Charges and melees | Shotgun, backpedal, do not trade |
| Empty Proxy | Surface and late station | Heat blast, laser sweep | Break line of sight, rifle from cover |
| Sentry robot | Central Security | Bullets and lasers, hostile to aliens | Let it fight the aliens, then finish it |
| Alien stingray | Flooded coolant rooms | Glides under water, ambushes | Listen for the splash, shoot before it surfaces |
Sentry robots are the best example of the game's systemic streak. They are not scripted to ignore aliens; they genuinely fight them. If you hear a firefight in the next room, wait. Half the time the problem solves itself.
Settings worth changing first
The retro PlayStation filter is the headline option and it is cosmetic. Turning it off keeps the low-poly models and the affine texture warping but removes the dithering layer, which makes dark corridors easier to read. Players who get motion sick should also lower the head-bob equivalent if their build exposes it, and turn off the CRT-style scanline overlay if they are playing on a small screen.
The HUD is not scalable on every patch. If the inventory text is too small on a 1080p monitor, drop the resolution to 1600x900 and let the game upscale; the art style hides the softness better than most games.
Reported issues include weapons that stop firing until you switch slots, a crash when opening the inventory in a crowded room, and an ammo counter that shows the wrong number after merging stacks. None of them are save-corrupting. If a weapon goes dead, switch to the crowbar and back; that clears the state more reliably than reloading.
What to do before you leave Level 1
- Talk to all five named crew members.
- Complete the gun quiz for Gun Nut.
- Collect the restroom document and the maintenance documents.
- Pick up the flashlight and the Worm V.1.
- Merge every partial ammo stack.
- Save at the station before the elevator.
If you do those six things, the surface section is a normal difficulty curve instead of a brick wall.
The opening hour is where DERELIKT either clicks or does not. The game gives you a station full of people, a flashlight and no map marker, and it expects you to read the room.
FAQ
Can I go back to Level 01 after reaching the surface? Yes. The elevator in Mainframe stays active for the whole game, and the crew you did not talk to remain there. Clear the Chatterbox achievement before the reactor, because the ending sequence locks the station.
Does the difficulty setting affect achievements? No. The 27 achievements unlock on any difficulty, and Phyrric victory explicitly counts a completion on any setting. Higher difficulties only change enemy damage and ammo drops.
Should I merge medkits immediately? Merge two small medkits as soon as both are in the grid, because the merged kit occupies one cell and heals more per cell. Do not merge a small kit into a large one at full health; the game wastes the overflow.
Sources and further reading
The pages below are the sources this guide checks against. The store page and the developer's post are primary; the reviews are secondary and are used for enemy names, weapon names and the state of the game at launch.
- DERELIKT on Steam ↗ — the store page, system requirements and the 27-achievement list.
- Visuwyg's announcement post ↗ — the developer's own description of the outpost and the PS1 rendering work.
- GameScout's DERELIKT review ↗ — 6.5/10, with the most detailed breakdown of the game's bugs and hub loop.
Official source: Visuwyg — DERELIKT announcement post ↗, 8 September 2025.
"grafted onto an anomalous derelict asteroid in orbit around Saturn" — Visuwyg, DERELIKT announcement post, 2025