
DERELIKT Level 8 Walkthrough: Coolant Reservoir
The hazmat-gated coolant section: suit checks, flooded basins, alien stingrays, cooling towers and the long stretch with no save station.
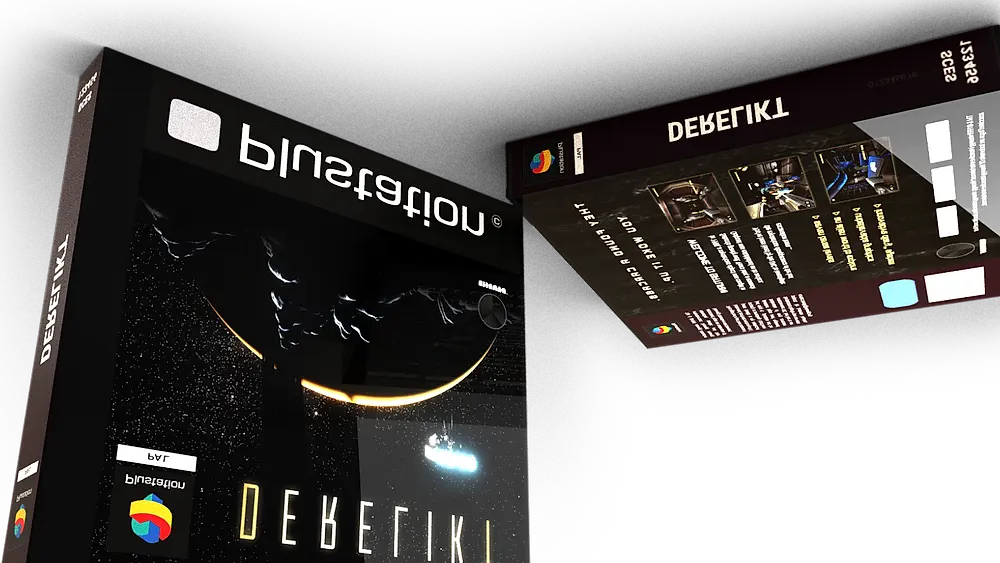
Coolant Reservoir is the level that makes the hazmat suit worth the backtrack. Without the suit, the first flooded basin kills you in under a minute. With it, the same basin is a slow, tense swim through water full of alien stingrays, with a radiation timer ticking in the corner of the screen.
It is also the campaign's difficulty spike. The enemies are not new, but the level puts them in water, in the dark, with no save station for the first twenty minutes. The achievement for finishing it sits at 1.6%, the same as Living Quarters, which means most players who reach the coolant section do finish it.
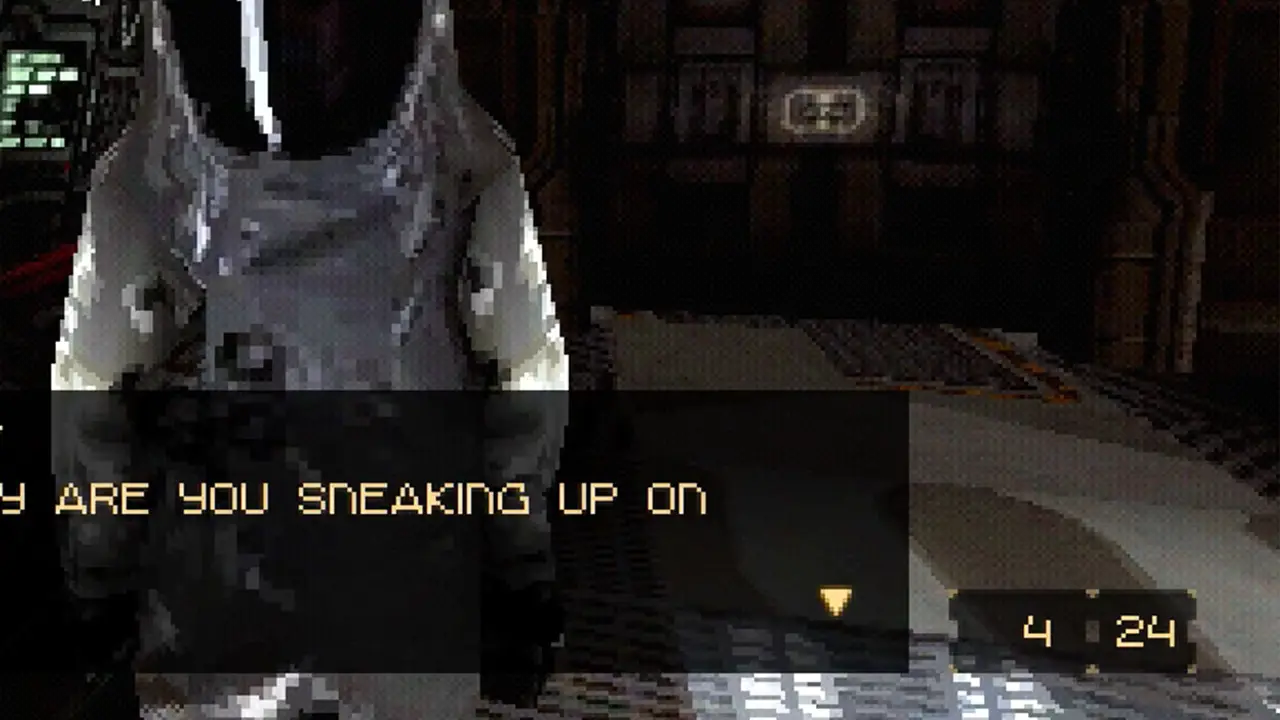
The coolant stations are the first half of the reactor puzzle→, so read that before you touch a valve.
Before you enter
The coolant airlock checks your inventory. If the hazmat suit is not in your bag, the door will not cycle, and the game gives you no alternate route. That is the whole reason Central Security has a locker.
Bring:
- Hazmat suit, equipped.
- Shotgun, for the flooded corridors.
- Rifle, for the stingrays at range.
- Two medkits, because the first save is deep in the level.
- Flashlight, fully charged.
The suit slows your movement in water and muffles your footsteps, which cuts both ways: enemies hear you later, but you also hear them later.
The route
1. The airlock and the pump room
The airlock opens into a pump room with four valves and a pressure gauge. The objective is to bring the gauge into the green band by turning the valves in the order the gauge reacts to. There is no code here; it is a physical puzzle and the gauge is the feedback.
Turn one valve at a time and watch the needle. The correct sequence moves the needle up; a wrong valve drops it and vents steam, which spawns a Rock Worm. The room has a save station once the pressure is stable.
2. The first flooded basin
The first basin is the level's signature room: a flooded cooling pool with a walkway around the edge and stingrays in the water. The stingrays are invisible until they move, and they hit hard.
- Stay on the walkway as long as you can; the water route is faster but costs health.
- If you must swim, swim along the wall and surface often. Stingrays do not leave the basin floor.
- The catwalk above the basin has a storage box and a Science Report.
- The exit door is on the far side, behind a valve wheel that takes two interactions to turn.
3. The cooling towers
The towers are three vertical shafts connected by catwalks. Each shaft has a sentry robot on patrol and a nest of alien growth on the wall.
The order matters: clear the nest first, then the sentry. The nest spawns Abominations if you shoot it while the sentry is watching, and a sentry plus two Abominations in a narrow shaft is a death sentence.
- Shoot the growth from the catwalk, not from the ladder.
- Use the crowbar on the sentry while it is facing the growth.
- The middle tower has a Shriver's Note on the maintenance platform.
4. The submerged control room
The control room is fully flooded and requires the suit to enter. Inside:
- The level's main terminal, which starts the coolant purge.
- A storage box with rifle ammo.
- The second Insight pickup of the level, on the desk under the waterline.
The purge takes ninety seconds and spawns waves of enemies at both doors. Hold the doorway with the shotgun and do not leave the room; the terminal cannot be re-activated if you die mid-purge.
5. The climb out
After the purge, the water level drops and the route back up opens. The climb is a linear series of ladders and catwalks with three ambushes. The last one, at the top of the reservoir, is a Proxy pair, which is the game's way of saying the rifle should still have ammo.
The level ends at the lift to the reactor, which awards From bad to worse (1.6%).
Enemies and how to spend ammo
| Enemy | Where | Answer | Ammo cost |
|---|---|---|---|
| Alien stingray | Flooded basins | Rifle from the walkway | 3–4 rounds |
| Rock Worm | Pump room, vents | Shotgun, point blank | 2 shells |
| Abomination | Cooling tower nests | Shotgun, backpedal | 2 shells |
| Sentry robot | Tower catwalks | Crowbar from behind | 0 |
| Empty Proxy | Final climb | Rifle, break line of sight | 8–10 rounds |
The level is designed to drain your rifle. If you enter with less than two magazines, the final climb is a problem, because the Proxy pair cannot be crowbarred.
Save stations
There are only three:
- Pump room, after the pressure puzzle.
- Middle cooling tower, on the maintenance platform.
- Reservoir top, before the lift.
The gap between the first and second is the longest stretch in the game without a save. Plan your medkits around it.
Starting the coolant purge with low health locks you into ninety seconds of waves. Clear the room, save at the tower, then come back.
Collectibles
- Science Report, first basin catwalk.
- Shriver's Note, middle cooling tower.
- Insight, submerged control room desk.
- Storage box ×2, first basin and control room.
- Medkit, pump room locker.
FAQ
Can I enter without the hazmat suit? No. The airlock will not cycle and there is no alternate route.
Where is the second Insight? In the submerged control room, on the desk under the waterline. It is easy to miss because the prompt only appears when you are almost touching it.
How long is the level? About forty minutes on a first run, closer to twenty-five once you know the valve order and the tower route.
Is the sentry in the towers mandatory? No. All three can be avoided or crowbarred.
GameScout's review calls the water sections the game's most punishing stretch, and the save-station spacing is the reason. Plan the run around the middle tower save.
Sources and further reading
The pages below are the sources this guide checks against. The store page and the developer's post are primary; the reviews are secondary and are used for enemy names, weapon names and the state of the game at launch.
- DERELIKT on Steam ↗ — the store page, system requirements and the 27-achievement list.
- Visuwyg's announcement post ↗ — the developer's own description of the outpost and the PS1 rendering work.
- GameScout's DERELIKT review ↗ — 6.5/10, with the most detailed breakdown of the game's bugs and hub loop.
Official source: Visuwyg — DERELIKT announcement post ↗, 8 September 2025.
"grafted onto an anomalous derelict asteroid in orbit around Saturn" — Visuwyg, DERELIKT announcement post, 2025